Save to the Excel 2003 File Type by Default in Excel 2010
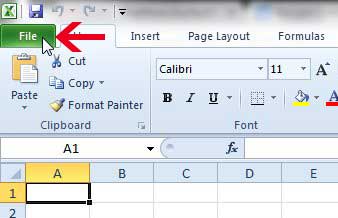
If this is something that you are doing to accommodate one specific person that is using an older version of Excel, then a better option might be to suggest that they download the Office compatibility pack. While you may be willing to take steps on your end to improve compatibility, people in other organizations or strangers may not be willing or able to make this change. But you can continue with the steps below to start saving to .xls by default in Excel 2010. Step 1: Launch Excel 2010. Step 2: Click the File tab at the top-left corner of the window.
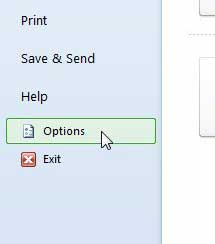
Step 3: Click Options at the bottom of the column on the left side of the window.
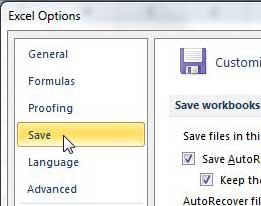
Step 4: Click the Save option in the column at the left side of the Excel Options window.
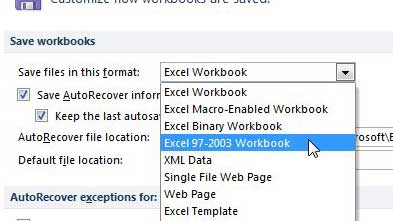
Step 5: Click the drop-down menu to the right of Save files in this format, then click the Excel 97-2003 Workbook option.
Step 6: Click the OK button at the bottom-right corner of the window to apply the change. You can follow a similar process if you want to save in the csv file format by default instead. After receiving his Bachelor’s and Master’s degrees in Computer Science he spent several years working in IT management for small businesses. However, he now works full time writing content online and creating websites. His main writing topics include iPhones, Microsoft Office, Google Apps, Android, and Photoshop, but he has also written about many other tech topics as well. Read his full bio here.
You may opt out at any time. Read our Privacy Policy